


To crochet a hat, start by making a slipknot and chaining a specific number of stitches. Then, work in rounds to create the desired size and shape.
Crocheting a hat is a fun and rewarding project for both beginners and experienced crafters. With just a few basic supplies and some simple stitches, you can create a cozy and stylish accessory to keep you warm during the colder months.
In this guide, we will walk you through the steps to crochet a hat from start to finish. Whether you’re making a gift for a friend or adding to your own collection, crocheting a hat allows you to showcase your creativity and skill. Let’s dive in and learn how to crochet a hat that you’ll be proud to wear.
Credit: www.mamainastitch.com
Introduction To Crocheting Hats
Learn the art of crocheting hats with our simple guide on how to crochet a hat. Master the basic stitches and techniques to create your own stylish and cozy hats for any season. Whether you’re a beginner or an experienced crafter, this tutorial will help you bring your hat-making skills to the next level.
The Appeal Of Handmade Hats
Handmade hats are unique and personal. When you crochet a hat, you get to choose the color, style, and pattern. You can create a one-of-a-kind piece that perfectly fits your style and personality. Plus, there’s something special about wearing something you made yourself. It’s a conversation starter and a way to showcase your creativity.
Benefits Of Learning To Crochet
Crocheting is a relaxing and enjoyable hobby that has several benefits. It can help to reduce stress, improve focus and concentration, and even boost your mood. Plus, crocheting is an affordable and sustainable way to create accessories like hats, scarves, and gloves. And once you learn the basics, you can experiment with different patterns and techniques to create even more intricate designs. Crocheting hats is a fun and rewarding project for beginners and experienced crocheters alike.
In this guide, we’ll walk you through the steps to create a basic hat using simple stitches and techniques. We’ll also provide tips on how to customize your hat to make it unique and stylish. By the end of this guide, you’ll have a new skill and a cozy hat to wear on chilly days. So grab your yarn and hook, and let’s get started!
Gathering Your Crochet Tools
Crocheting a hat is a delightful and rewarding experience that requires a few essential tools. Before diving into your crochet project, it’s important to gather the necessary items to ensure a smooth and enjoyable process. From selecting the right yarn to choosing the perfect crochet hooks, here’s a guide to help you assemble your crochet toolkit.
Choosing The Right Yarn
When it comes to crocheting a hat, selecting the right yarn is crucial. The yarn’s weight should be suitable for the desired hat style. Refer to the yarn label to identify its weight category, whether it’s super bulky, bulky, medium, or light. Additionally, consider the fiber content of the yarn, such as wool, acrylic, or cotton, based on the hat’s intended warmth and texture.
Selecting Crochet Hooks
Choosing the appropriate crochet hooks is essential for achieving the desired tension and stitch definition in your hat. Consider the hook size recommended on the yarn label or in the crochet pattern. A set of interchangeable crochet hooks can be a versatile investment, allowing you to experiment with different sizes as needed for various projects.
Essential Accessories
In addition to yarn and crochet hooks, several essential accessories can enhance your crocheting experience. Stitch markers help keep track of rounds and important stitch placements, while tapestry needles are indispensable for weaving in ends. A measuring tape is essential for checking the hat’s dimensions, ensuring a perfect fit.
Understanding Crochet Patterns
Discover the secrets of understanding crochet patterns and learn how to crochet a hat effortlessly. Uncover step-by-step instructions and valuable tips to create your own stylish and cozy headwear. Get started on your crochet journey today!
Crocheting a hat can be a fun and rewarding project, but it’s important to understand crochet patterns before you get started. Reading pattern notations and familiarizing yourself with common stitch types will help you follow the instructions and create a beautiful hat. Let’s dive into each of these aspects to ensure you have a solid foundation.
Reading Pattern Notations
To successfully crochet a hat, you need to be able to read and interpret pattern notations. These notations provide the instructions for each stitch and guide you through the entire process. Here are a few key notations you should know:
- Ch – Represents a chain stitch
- Sc – Stands for a single crochet stitch
- Dc – Refers to a double crochet stitch
- Tr – Represents a treble crochet stitch
- Sl st – Stands for a slip stitch
Understanding these basic notations will allow you to follow the pattern and create the desired stitches accurately. Take your time to familiarize yourself with these abbreviations, and you’ll be on your way to crocheting a hat like a pro.
Common Stitch Types
Knowing the different stitch types is crucial for crocheting a hat. Here are some commonly used stitches you’ll come across in crochet patterns:
| Stitch Type | Description |
|---|---|
| Single Crochet (sc) | A basic stitch that creates a tight and dense fabric. |
| Double Crochet (dc) | A taller stitch that works up quickly and creates a looser fabric. |
| Half Double Crochet (hdc) | A stitch that falls in between a single crochet and double crochet in height. |
| Treble Crochet (tr) | A tall stitch that creates an open and lacy fabric. |
By understanding the characteristics of each stitch type, you can choose the right stitches to achieve the desired texture and drape for your hat. Experimenting with different stitch combinations can also add unique designs to your creations. With a solid understanding of pattern notations and common stitch types, you’re ready to embark on your crochet hat journey. Remember to take your time, follow the instructions carefully, and enjoy the process of creating something beautiful with your own hands. Happy crocheting!
Mastering The Basics
Crocheting a hat is a wonderful way to unleash your creativity and produce a practical, stylish accessory. To get started, it’s essential to master the basics of crocheting, including fundamental stitches and creating a test swatch. Once you have a solid understanding of these foundational techniques, you’ll be well-equipped to tackle more complex crochet projects with confidence.
Practice Fundamental Stitches
Before diving into crocheting a hat, it’s crucial to practice fundamental stitches such as the chain stitch, single crochet, double crochet, and slip stitch. These stitches form the building blocks of crochet projects, and mastering them will set you up for success. By practicing these stitches, you’ll develop muscle memory and gain a deeper understanding of how to create different textures and patterns in your crochet work.
Creating A Test Swatch
Once you’re comfortable with the fundamental stitches, creating a test swatch is a valuable step in the learning process. A test swatch allows you to check your gauge and ensure that your stitches are consistent and even. It also provides an opportunity to experiment with different hook sizes and yarn types to achieve the desired texture and drape for your hat. Taking the time to create a test swatch will ultimately contribute to the overall quality and fit of your finished hat.
Starting Your Hat
When it comes to crochet, making a hat is a popular and rewarding project. Whether you’re a beginner or an experienced crocheter, creating your own hat allows you to showcase your creativity and keep warm during the colder months. In this guide, we’ll walk you through the process of crocheting a hat, starting from the very beginning. Let’s get started!
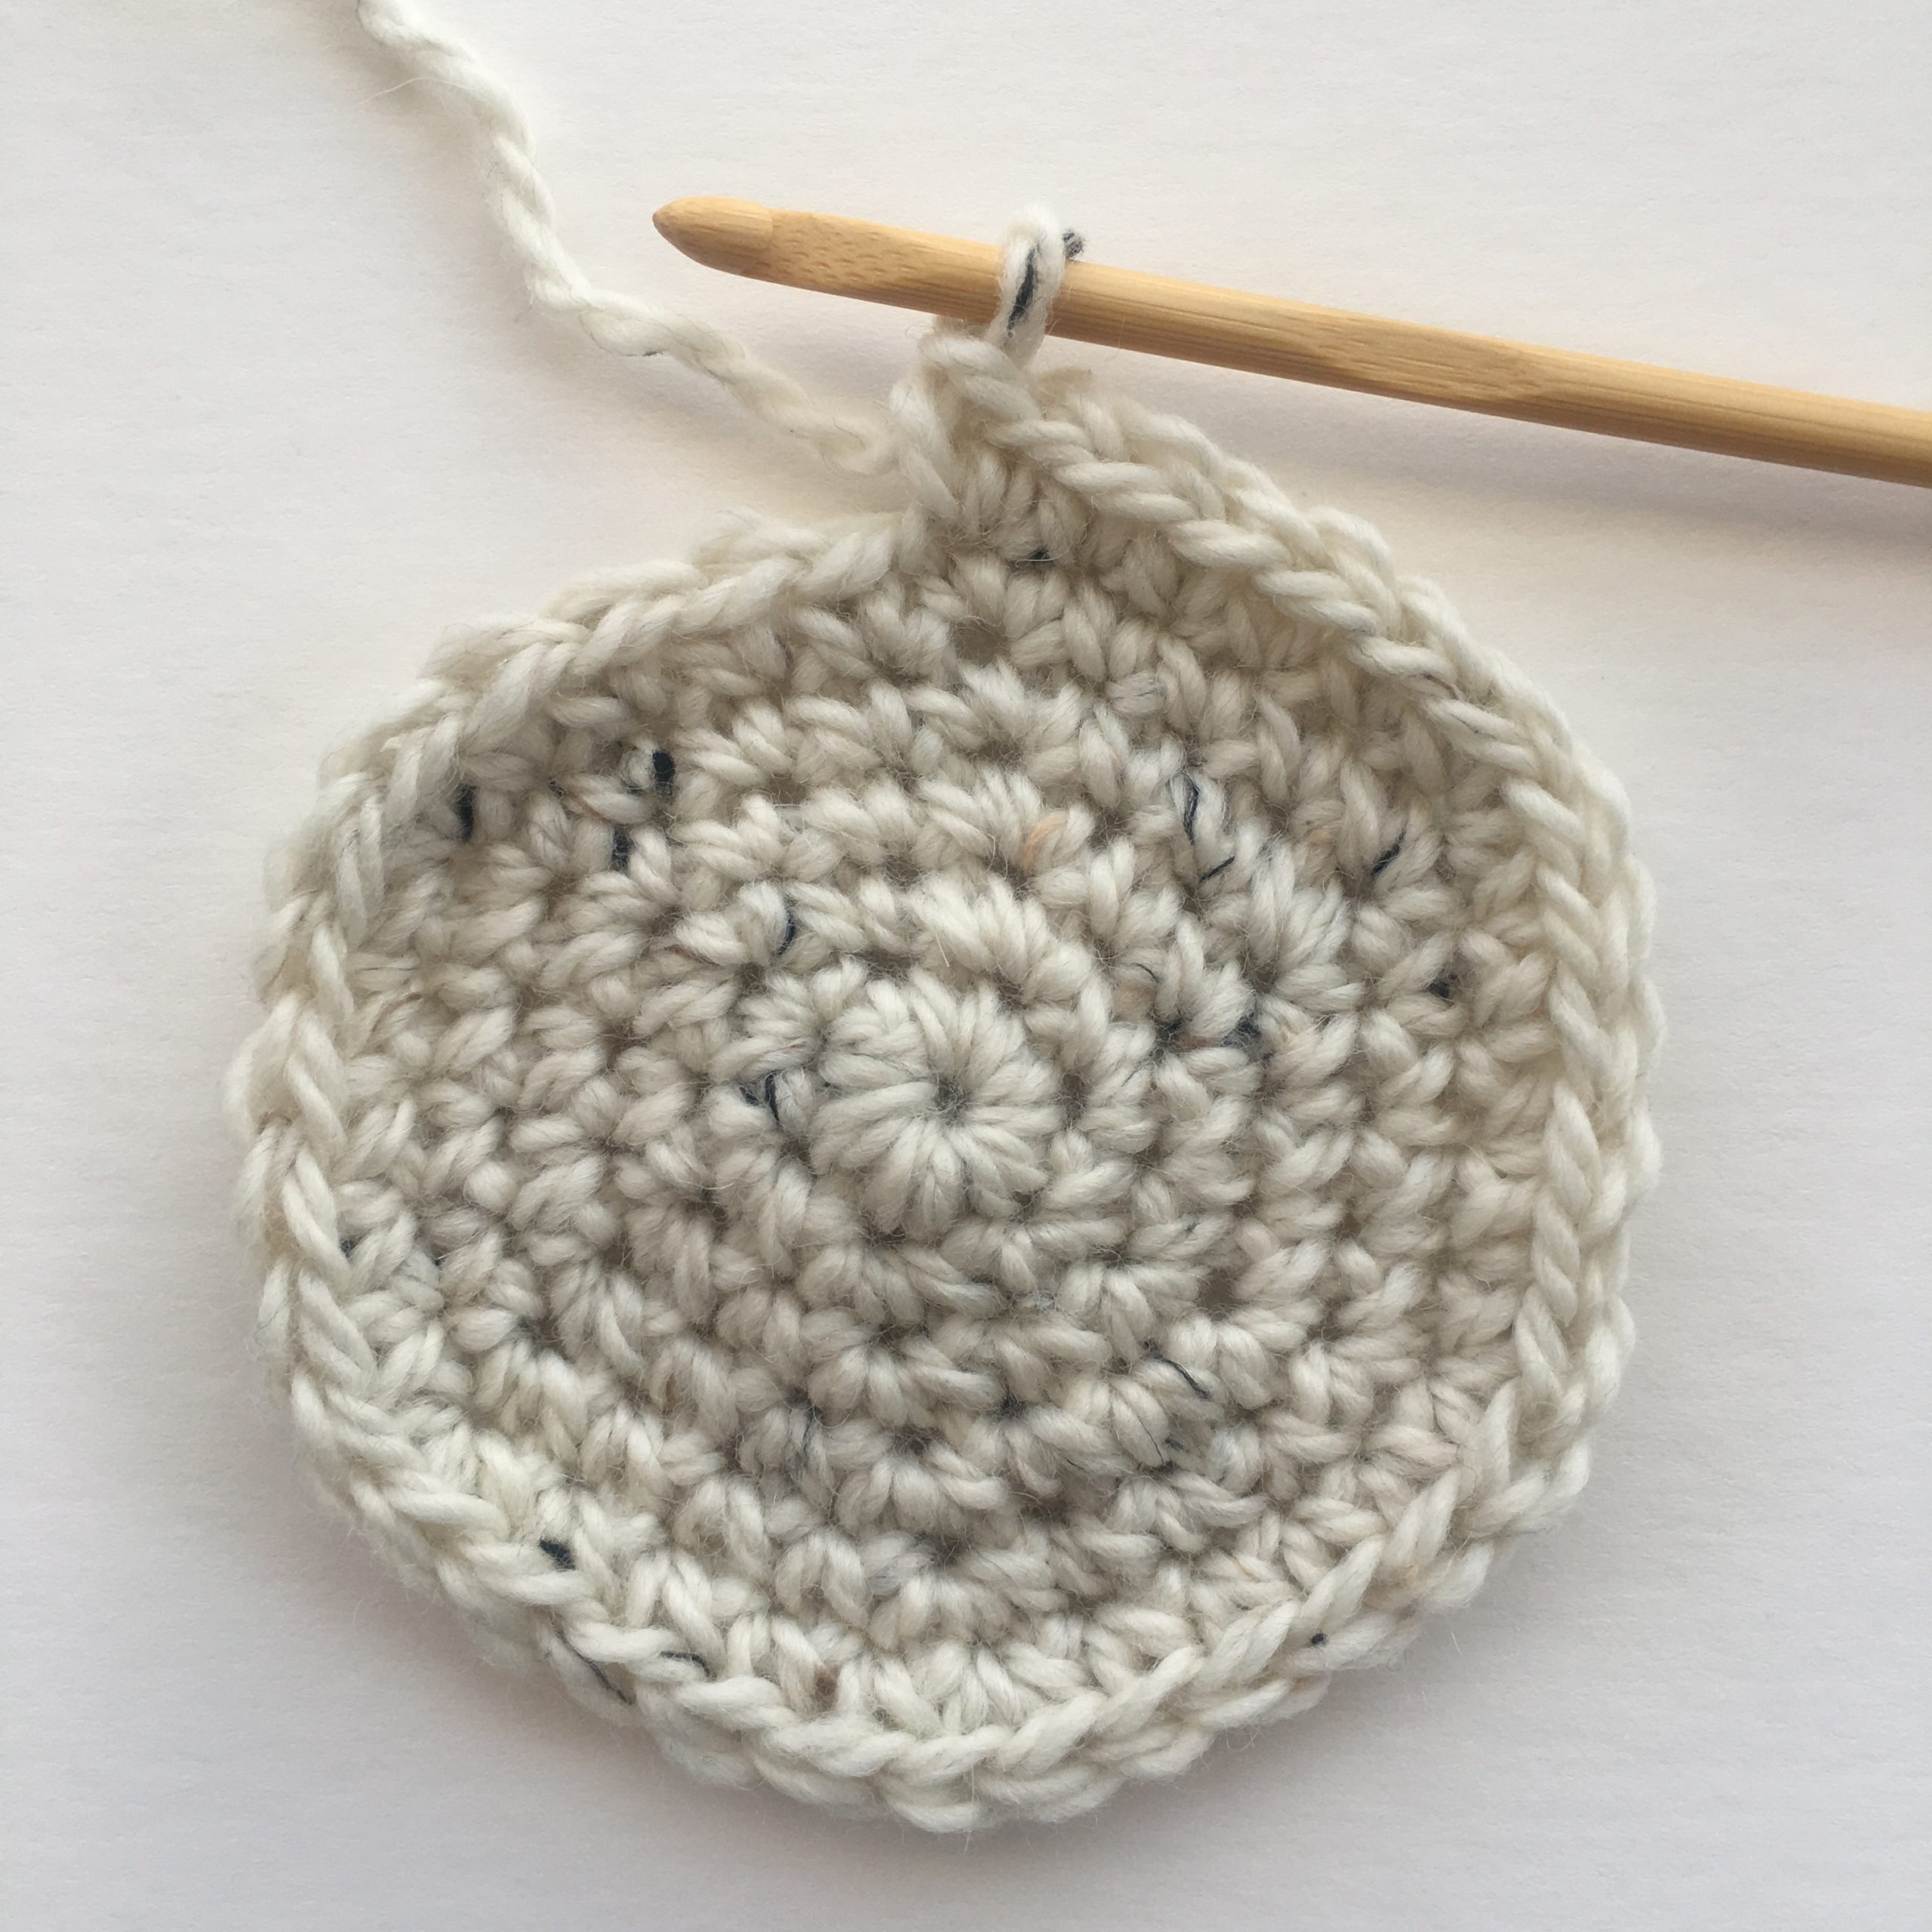
Making A Magic Ring
Before you can begin crocheting your hat, you’ll need to start with a magic ring. This technique creates a tight and seamless center for your hat, ensuring a polished finished product. To make a magic ring, follow these simple steps:
- Create a loop by crossing the yarn over your finger.
- Insert your crochet hook under the first strand of yarn and over the second strand.
- Grab the second strand of yarn with your hook and pull it through the loop.
- Chain one to secure the ring.
Now you have a magic ring to work with for the rest of your hat!
Establishing The Foundation Round
Once you have your magic ring, it’s time to establish the foundation round of your hat. This round sets the stage for the rest of your hat’s construction. Here’s how to establish the foundation round:
- Begin by chaining a certain number of stitches, depending on the size of the hat you want to make.
- Slip stitch into the first chain to form a ring.
- Single crochet into the ring, working over the tail of the magic ring to secure it.
- Continue single crocheting into the ring until you reach the desired number of stitches for your hat.
- Slip stitch into the first single crochet to join the round.
With the foundation round complete, you’re ready to move on to the next steps of crocheting your hat!
Shaping The Hat
Shaping the hat is a crucial step in crocheting, as it determines the fit and style of the finished product. By following the right techniques for increasing stitches for the crown and working the body of the hat, you can create a beautifully shaped and snug accessory. Let’s explore the key steps involved in shaping a crocheted hat.
Increasing Stitches For The Crown
To begin shaping the crown of the hat, you’ll need to increase the number of stitches in each round. This is typically achieved by crocheting two stitches into the same stitch from the previous round. For instance, if you start with six single crochet stitches in the first round, you may increase to twelve stitches in the second round by working two single crochet stitches into each stitch from the previous round. Continue this pattern of increasing evenly until you reach the desired diameter for the crown of the hat.
Working The Body Of The Hat
Once the crown has been shaped, you’ll transition to working the body of the hat in a consistent stitch pattern. This may involve crocheting in the round using the same number of stitches without any further increases, or you may choose to incorporate specific stitch patterns or color changes for added visual interest. The body of the hat should be worked to the desired length, typically covering the ears for warmth and style.
Finishing Touches
To create a stretchy rim, use the single crochet stitch.
- Start by chaining two stitches.
- Single crochet in the second chain from the hook.
- Continue single crocheting in each stitch around.
- Slip stitch to the first single crochet to join.
To secure the loose ends, follow these steps:
- Thread a tapestry needle with the yarn end.
- Weave the needle through nearby stitches.
- Trim any excess yarn close to the work.
Customizing Your Hat
Customizing your crochet hat allows you to add a personal touch and make it truly unique. Whether you want to add decorative elements or adjust the size for different ages, there are various ways to tailor your hat to your liking.
Adding Decorative Elements
Enhance your hat by adding decorative elements such as pom-poms, buttons, or embroidery. These small details can make a big difference in the overall look of your hat.
Adjusting Size For Different Ages
Ensure your hat fits perfectly by adjusting the size for different ages. Use a larger hook or extra rows for adult sizes, and smaller hook or fewer rows for children’s sizes.
Caring For Your Crochet Hat
To keep your crochet hat looking its best, proper care is essential. Follow these simple guidelines to ensure your handmade creation stays in top condition for years to come.
Washing Instructions
- Handwash your hat in lukewarm water
- Use mild detergent to preserve colors
- Gently squeeze excess water, avoid wringing
- Lay flat to dry to maintain shape
Storing Your Handmade Hat
Proper storage is key to preserving your crochet hat when not in use.
- Clean and dry your hat before storing
- Avoid hanging to prevent stretching
- Store in a cool, dry place to avoid moisture
- Consider placing tissue paper inside to maintain shape
Troubleshooting Common Issues
When crocheting a hat, you may encounter common issues that can be easily fixed. Here are solutions to some of the most frequent problems:
Fixing Dropped Stitches
If you notice a dropped stitch in your hat, don’t panic. Use a crochet hook to pick up the dropped stitch and secure it back onto the needle.
Adjusting Hat Tension
Hat tension too tight or loose? Ensure consistent tension by adjusting how tightly you crochet each stitch.
Joining The Crochet Community
Crocheting a hat can be a fulfilling and creative endeavor. However, the joy of creating your own hat can be further enhanced by joining the crochet community. Sharing your creations, finding inspiration online, and connecting with fellow crochet enthusiasts can elevate your crochet experience.
Sharing Your Creations
Share your finished crochet hat on social media platforms like Instagram and Facebook. Join crochet groups and post pictures of your creations to inspire others and receive feedback from the community. Engaging with fellow crocheters will encourage you to continue honing your skills and exploring new patterns and techniques.
Finding Inspiration Online
Utilize online platforms such as Pinterest and Ravelry to discover a myriad of crochet hat patterns and designs. These platforms are treasure troves of inspiration, offering a wide range of styles and difficulty levels. Engaging with the online crochet community can expose you to diverse perspectives and innovative approaches to crocheting hats.
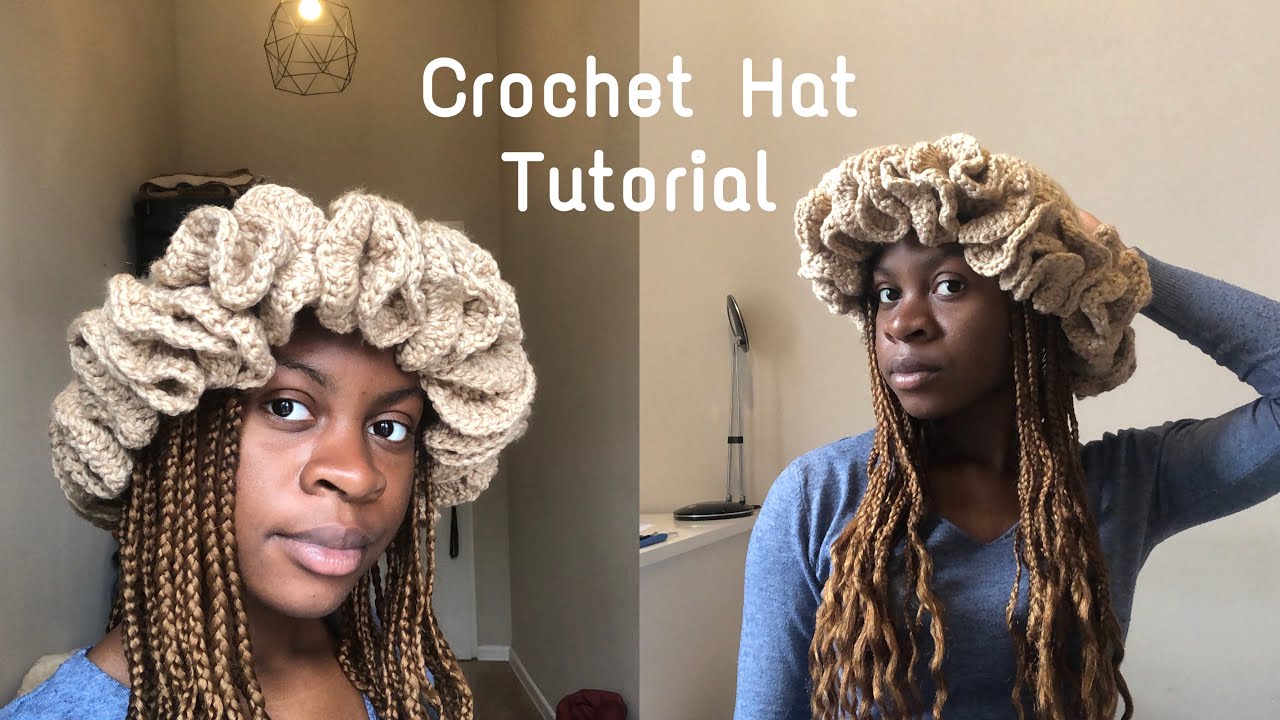
Credit: www.youtube.com
Taking Your Skills Further
Once you have mastered the basics of crocheting a hat, it’s time to take your skills to the next level. In this section, we will explore advanced techniques to try and different variations of crochet hats that you can experiment with. These techniques and variations will allow you to showcase your creativity and expand your crochet repertoire.
Advanced Techniques To Try
If you are looking to challenge yourself and elevate your crochet skills, here are some advanced techniques you can try:
- Colorwork: Experiment with different color combinations to create intricate patterns and designs on your hat.
- Lace Crochet: Learn how to incorporate lace stitches into your hat, adding a delicate and feminine touch.
- Tapestry Crochet: Explore the art of tapestry crochet, where you can create detailed images and motifs on your hat using multiple colors.
- Post Stitches: Master the technique of working stitches around the post of the previous row, creating a raised texture.
- Crocodile Stitch: Try your hand at the crocodile stitch, which creates a unique scale-like texture on your hat.
Exploring Crochet Hat Variations
Once you have a solid foundation in crocheting hats, you can start exploring different variations to add variety to your projects. Here are some crochet hat variations to consider:
- Slouchy Hat: Create a stylish and relaxed look with a slouchy hat, perfect for casual outings.
- Brimmed Hat: Add a brim to your hat for a more structured and polished appearance.
- Beanie with Earflaps: Keep your ears warm in chilly weather with a beanie that features cozy earflaps.
- Pom-Pom Hat: Add a playful touch to your hat by attaching a fluffy pom-pom on top.
- Newsboy Hat: Embrace a vintage-inspired look with a newsboy hat, featuring a small brim and a button accent.
By exploring advanced techniques and trying out different variations of crochet hats, you can continue to develop your skills and create unique and personalized pieces. Don’t be afraid to experiment and let your creativity shine!
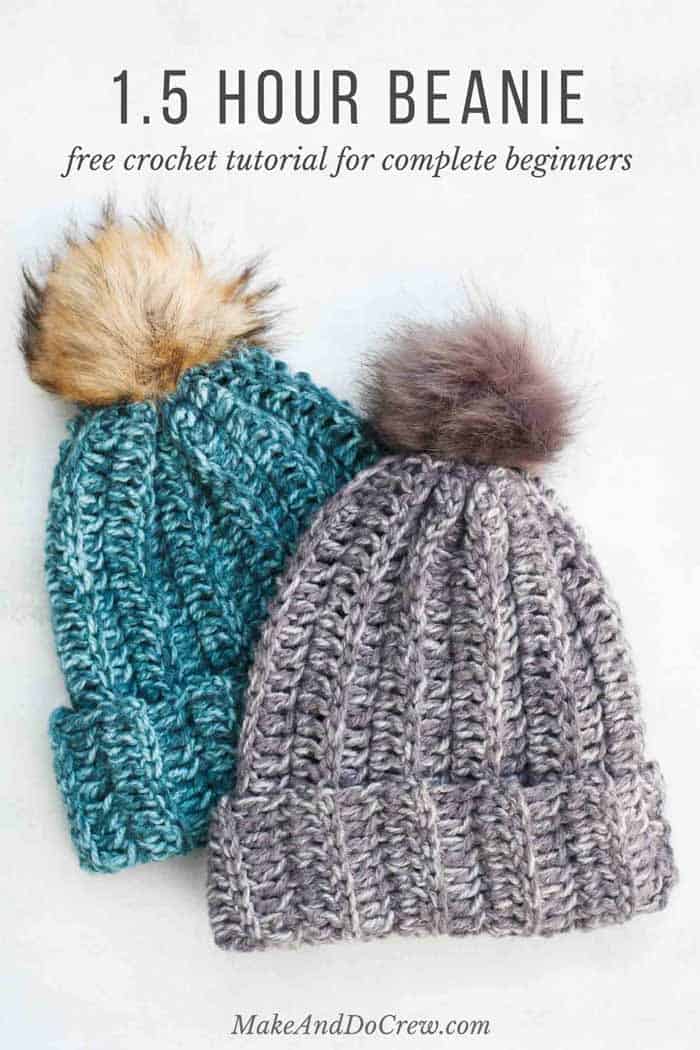
Credit: makeanddocrew.com
Frequently Asked Questions
Q: What Materials Do I Need To Crochet A Hat?
A: To crochet a hat, you will need a crochet hook, yarn, a tapestry needle, and scissors. Choose a hook size and yarn weight that match the desired hat size and style.
Q: What Are The Basic Stitches Used In Crocheting A Hat?
A: The basic stitches used in crocheting a hat are the chain stitch, single crochet stitch, and double crochet stitch. These stitches can be combined in different ways to create a variety of hat patterns.
Q: How Do I Measure My Head To Determine Hat Size?
A: To measure your head for hat size, wrap a flexible measuring tape around the widest part of your head, just above your eyebrows and ears. Take note of the measurement in inches and use it as a guide when selecting a hat pattern.
Q: Can I Crochet A Hat If I Am A Beginner?
A: Yes, you can crochet a hat even if you are a beginner. There are many simple hat patterns available that use basic stitches and are easy to follow. Start with a basic pattern and work your way up to more complex designs as your skills improve.
Conclusion
To sum up, crocheting a hat is a fun and rewarding craft that anyone can learn. By following the step-by-step instructions in this guide, you can create your own stylish and personalized hats. Remember to choose the right yarn, master the basic stitches, and experiment with different patterns to unleash your creativity.
So grab your crochet hook and start stitching your way to a fabulous hat collection! Happy crocheting!